Kia ora, I’m glad you’ve stopped by. Today I want to share my passion for making biltong at home. If you’ve tasted biltong before, you already know why it’s so popular. It’s rich, satisfying, and makes a perfect snack. If you’ve never tried making it yourself, this guide is here to help you begin.
I’ll take you through the process step by step, from choosing the right meat to drying and storing it properly. Along the way, I’ll highlight simple tips that will save you time and help you avoid mistakes. By the end, you’ll see how achievable it is to make your own batch at home in New Zealand.
And if you’d like to make the process even easier, I’ll also show why getting your equipment and supplies from Kalahari is a smart choice for beginners.
What Makes Biltong Special
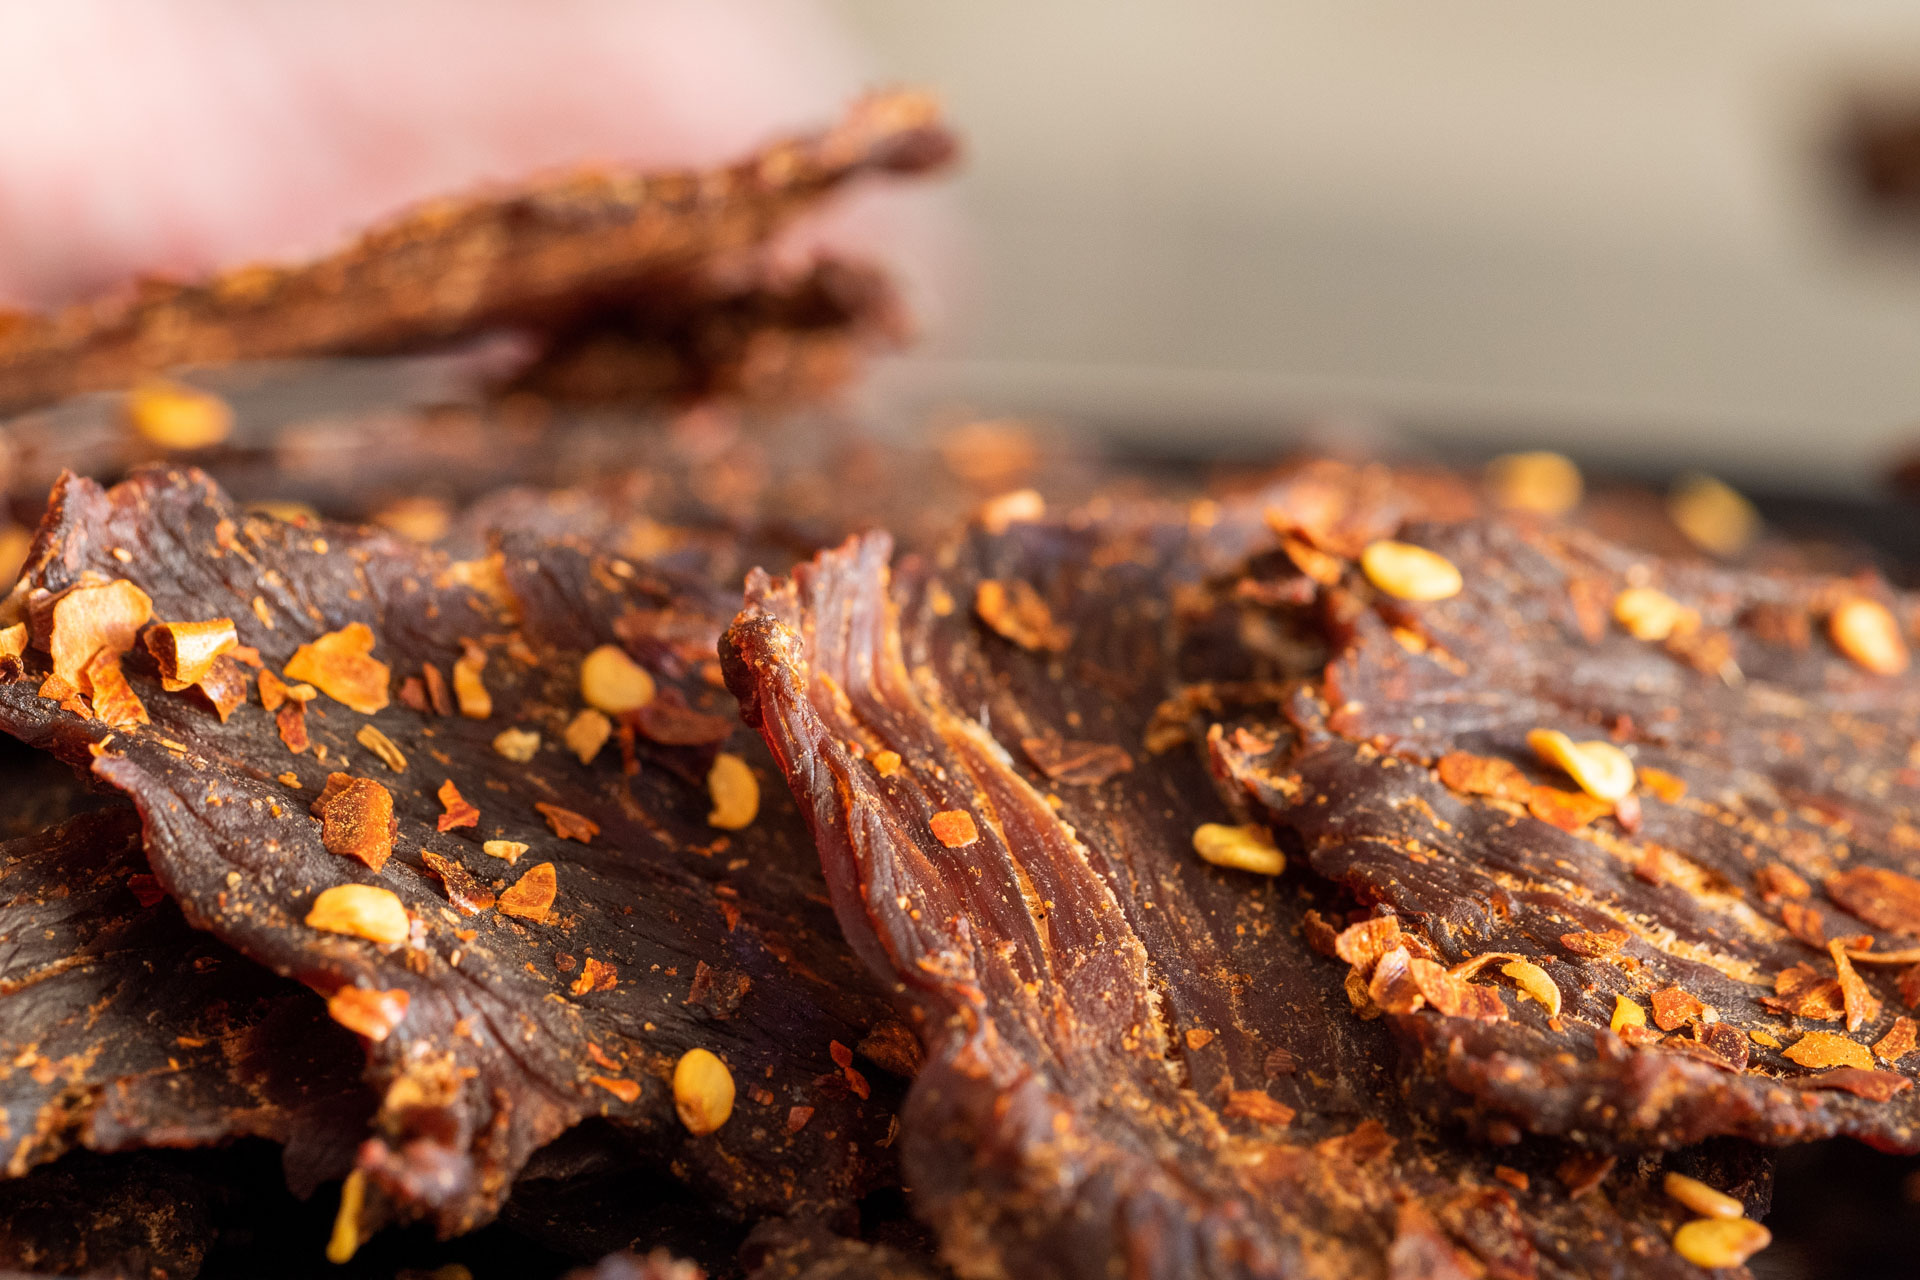
Biltong is more than just dried meat. It has a unique preparation and drying process that sets it apart from jerky and other cured meats.
- Air-dried, not cooked: This keeps the meat tender while locking in flavour.
- Simple ingredients: Just meat, vinegar, and spices. No complicated marinades needed.
- Flexible flavour: You can keep it traditional with coriander and pepper, or experiment with garlic, chilli, or even smoked paprika.
In New Zealand, biltong is becoming more common as both South Africans and Kiwis embrace it. The bonus for us is that we have excellent local meat which is high quality grass-fed beef that makes the best homemade biltong.
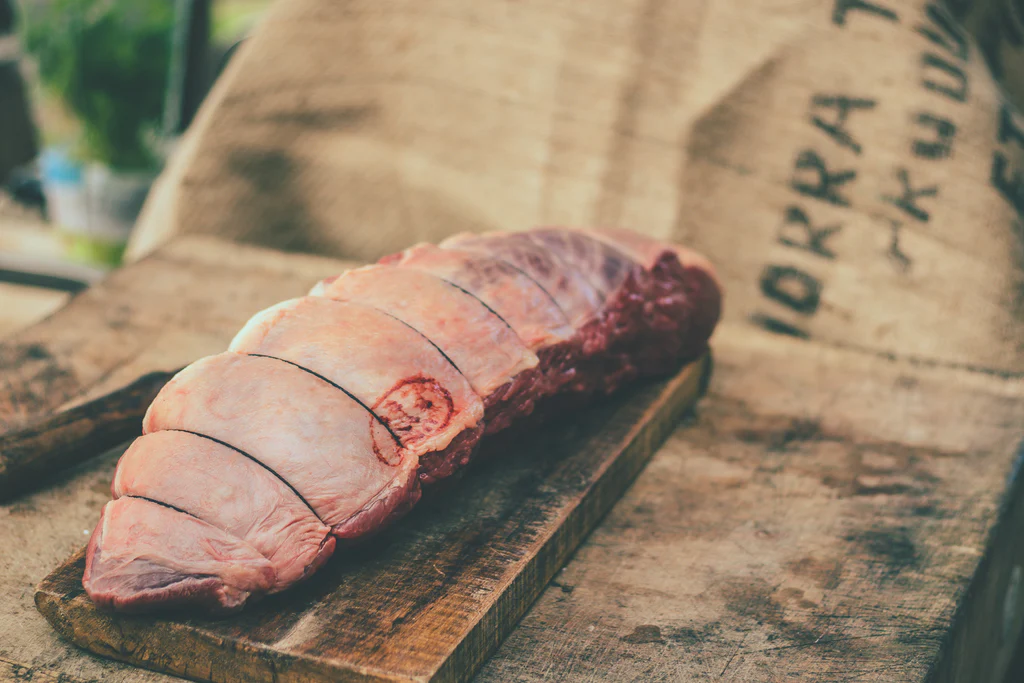
Step 1: Choosing the Meat
The type of meat you pick is the foundation of your biltong. Start simple and don’t overthink it.
Here’s what to look for:
- Cuts that work best: Topside and silverside are popular choices. They’re lean, easy to slice, and not too expensive.
- Avoid thin cuts: Thin meat dries too fast and can turn brittle. Go for thicker cuts that you can slice evenly.
- Trim to your taste:
- Want lean biltong? Remove as much fat as possible.
- Prefer flavour? Leave a thin layer of fat on.
A helpful tip: buy a whole piece of meat and slice it yourself. That way, you control the thickness and shape of each strip.
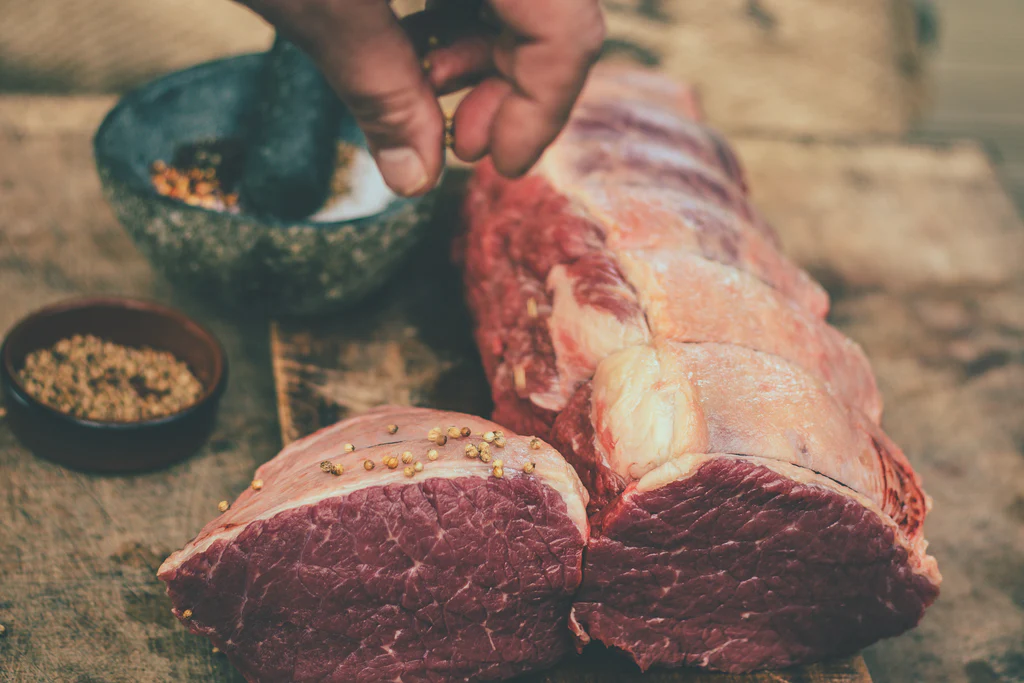
Step 2: Preparing the Spices and Marinade
This is the stage where the flavour is built. You only need a few key ingredients to make the most amazing biltong.
The essentials:
- Vinegar (malt or apple cider vinegar both work)
- Coriander seeds
- Black pepper
- Coarse salt
How to prepare:
- Lightly crush the coriander seeds.
- Mix them with black pepper and salt.
- Rinse each strip of meat with vinegar.
- Rub the spice mix into the meat.
Optional extras:
- Garlic powder
- Paprika
- Chilli flakes
- Worcestershire sauce
Once the meat is coated, place it in a covered container. Leave it in the fridge overnight. This step allows the spices and vinegar to penetrate the meat for deeper flavour.
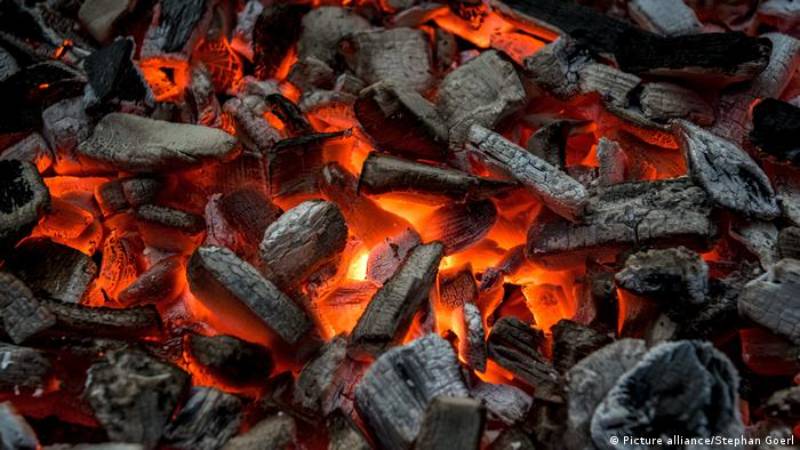
Step 3: Drying the Meat
This is where the magic happens. Drying transforms spiced meat into biltong. Traditionally, people would hang it in cool, airy rooms, but New Zealand’s weather isn’t always predictable. Humidity or dampness can affect your results.
That’s why many home-makers now use a biltong chamber. It takes away the guesswork and gives you consistent airflow.
Drying process:
- Hang each strip of meat inside the chamber.
- Make sure the strips don’t touch each other. Airflow is important.
- Switch on the chamber and leave it running.
- Check daily to see how the texture is changing.
Timeframe:
- Thin strips: about 3 days.
- Thicker strips: 4–5 days.
The right dryness is up to you. Some like soft, chewy biltong, while others prefer it firm and dry.
If you want reliable gear from the start, you can get a quality biltong chamber from Kalahari. It’s designed for beginners and makes the process easy.
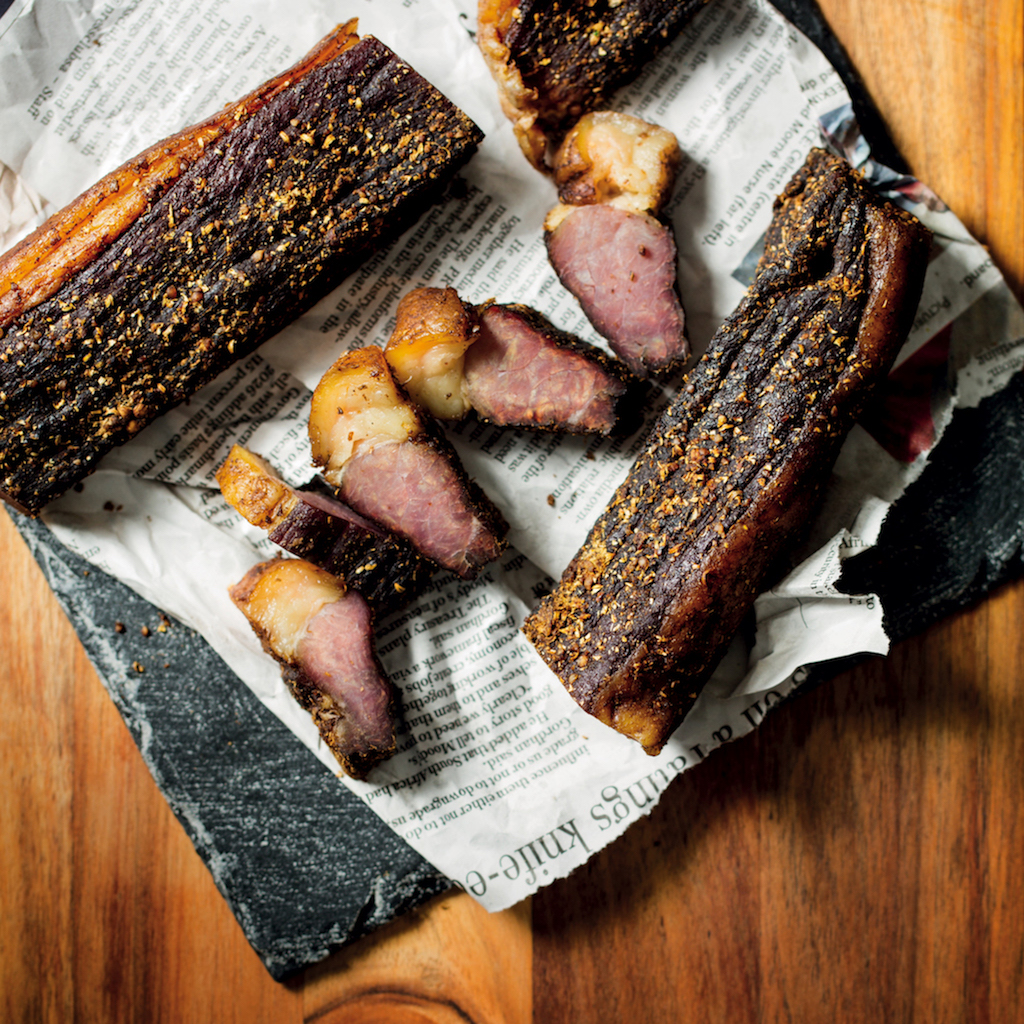
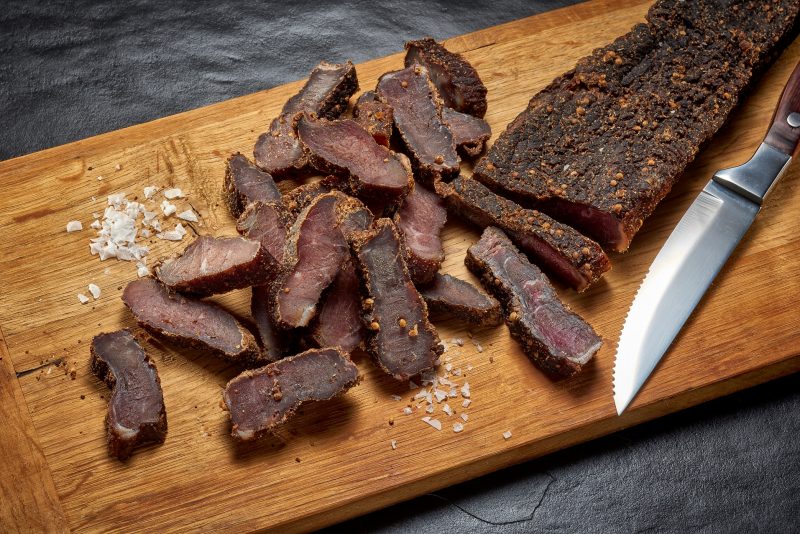
Step 4: Cutting and Storing
When your biltong has dried to your liking, it’s time to slice and enjoy.
- Use a sharp knife or a biltong cutter for thin, even slices.
- Store in an airtight container in a cool place.
- If you’ve made a big batch, vacuum sealing is a good option for longer freshness.
Biltong can last several weeks if stored well. Just make sure it stays dry and cool.
It’s perfect as:
- A snack for work or school.
- A protein boost after the gym.
- Food for road trips or tramping adventures.
Common Mistakes Beginners Make
Learning to make biltong is simple, but there are a few common pitfalls that beginners should watch out for. One of the biggest mistakes is rushing the process. Drying takes several days, not just a few hours, so patience is important if you want the right flavour and texture.
Another issue is using meat cuts that are too fatty. While a thin layer of fat adds flavour, excess fat can spoil before the meat has a chance to dry properly. Over-spicing is another trap. It can be tempting to load up on every seasoning, but a lighter hand often delivers a better result, and you can always adjust on your next batch. Lastly, airflow matters. If the meat strips are too close together, there’s a risk of mould forming, which can ruin all your effort. By being aware of these mistakes, you can avoid wasted batches and enjoy a smoother experience from the start.
Why Kalahari Is a Good Place to Start
Making biltong at home is much easier when you have the right tools and ingredients, and this is where Kalahari stands out. They offer purpose-built chambers designed with beginners in mind, which take away the uncertainty of drying meat in New Zealand’s mixed climate. Alongside that, they provide spice mixes that help you achieve the classic biltong flavour without having to figure it all out from scratch.
For those who want a complete setup, Kalahari also stocks accessories such as cutters and storage bags, as well as guidance for anyone just starting out. Instead of gathering bits and pieces from different places, you can rely on one trusted source to get everything you need. This makes the process less stressful, more enjoyable, and far more likely to succeed on your very first attempt.