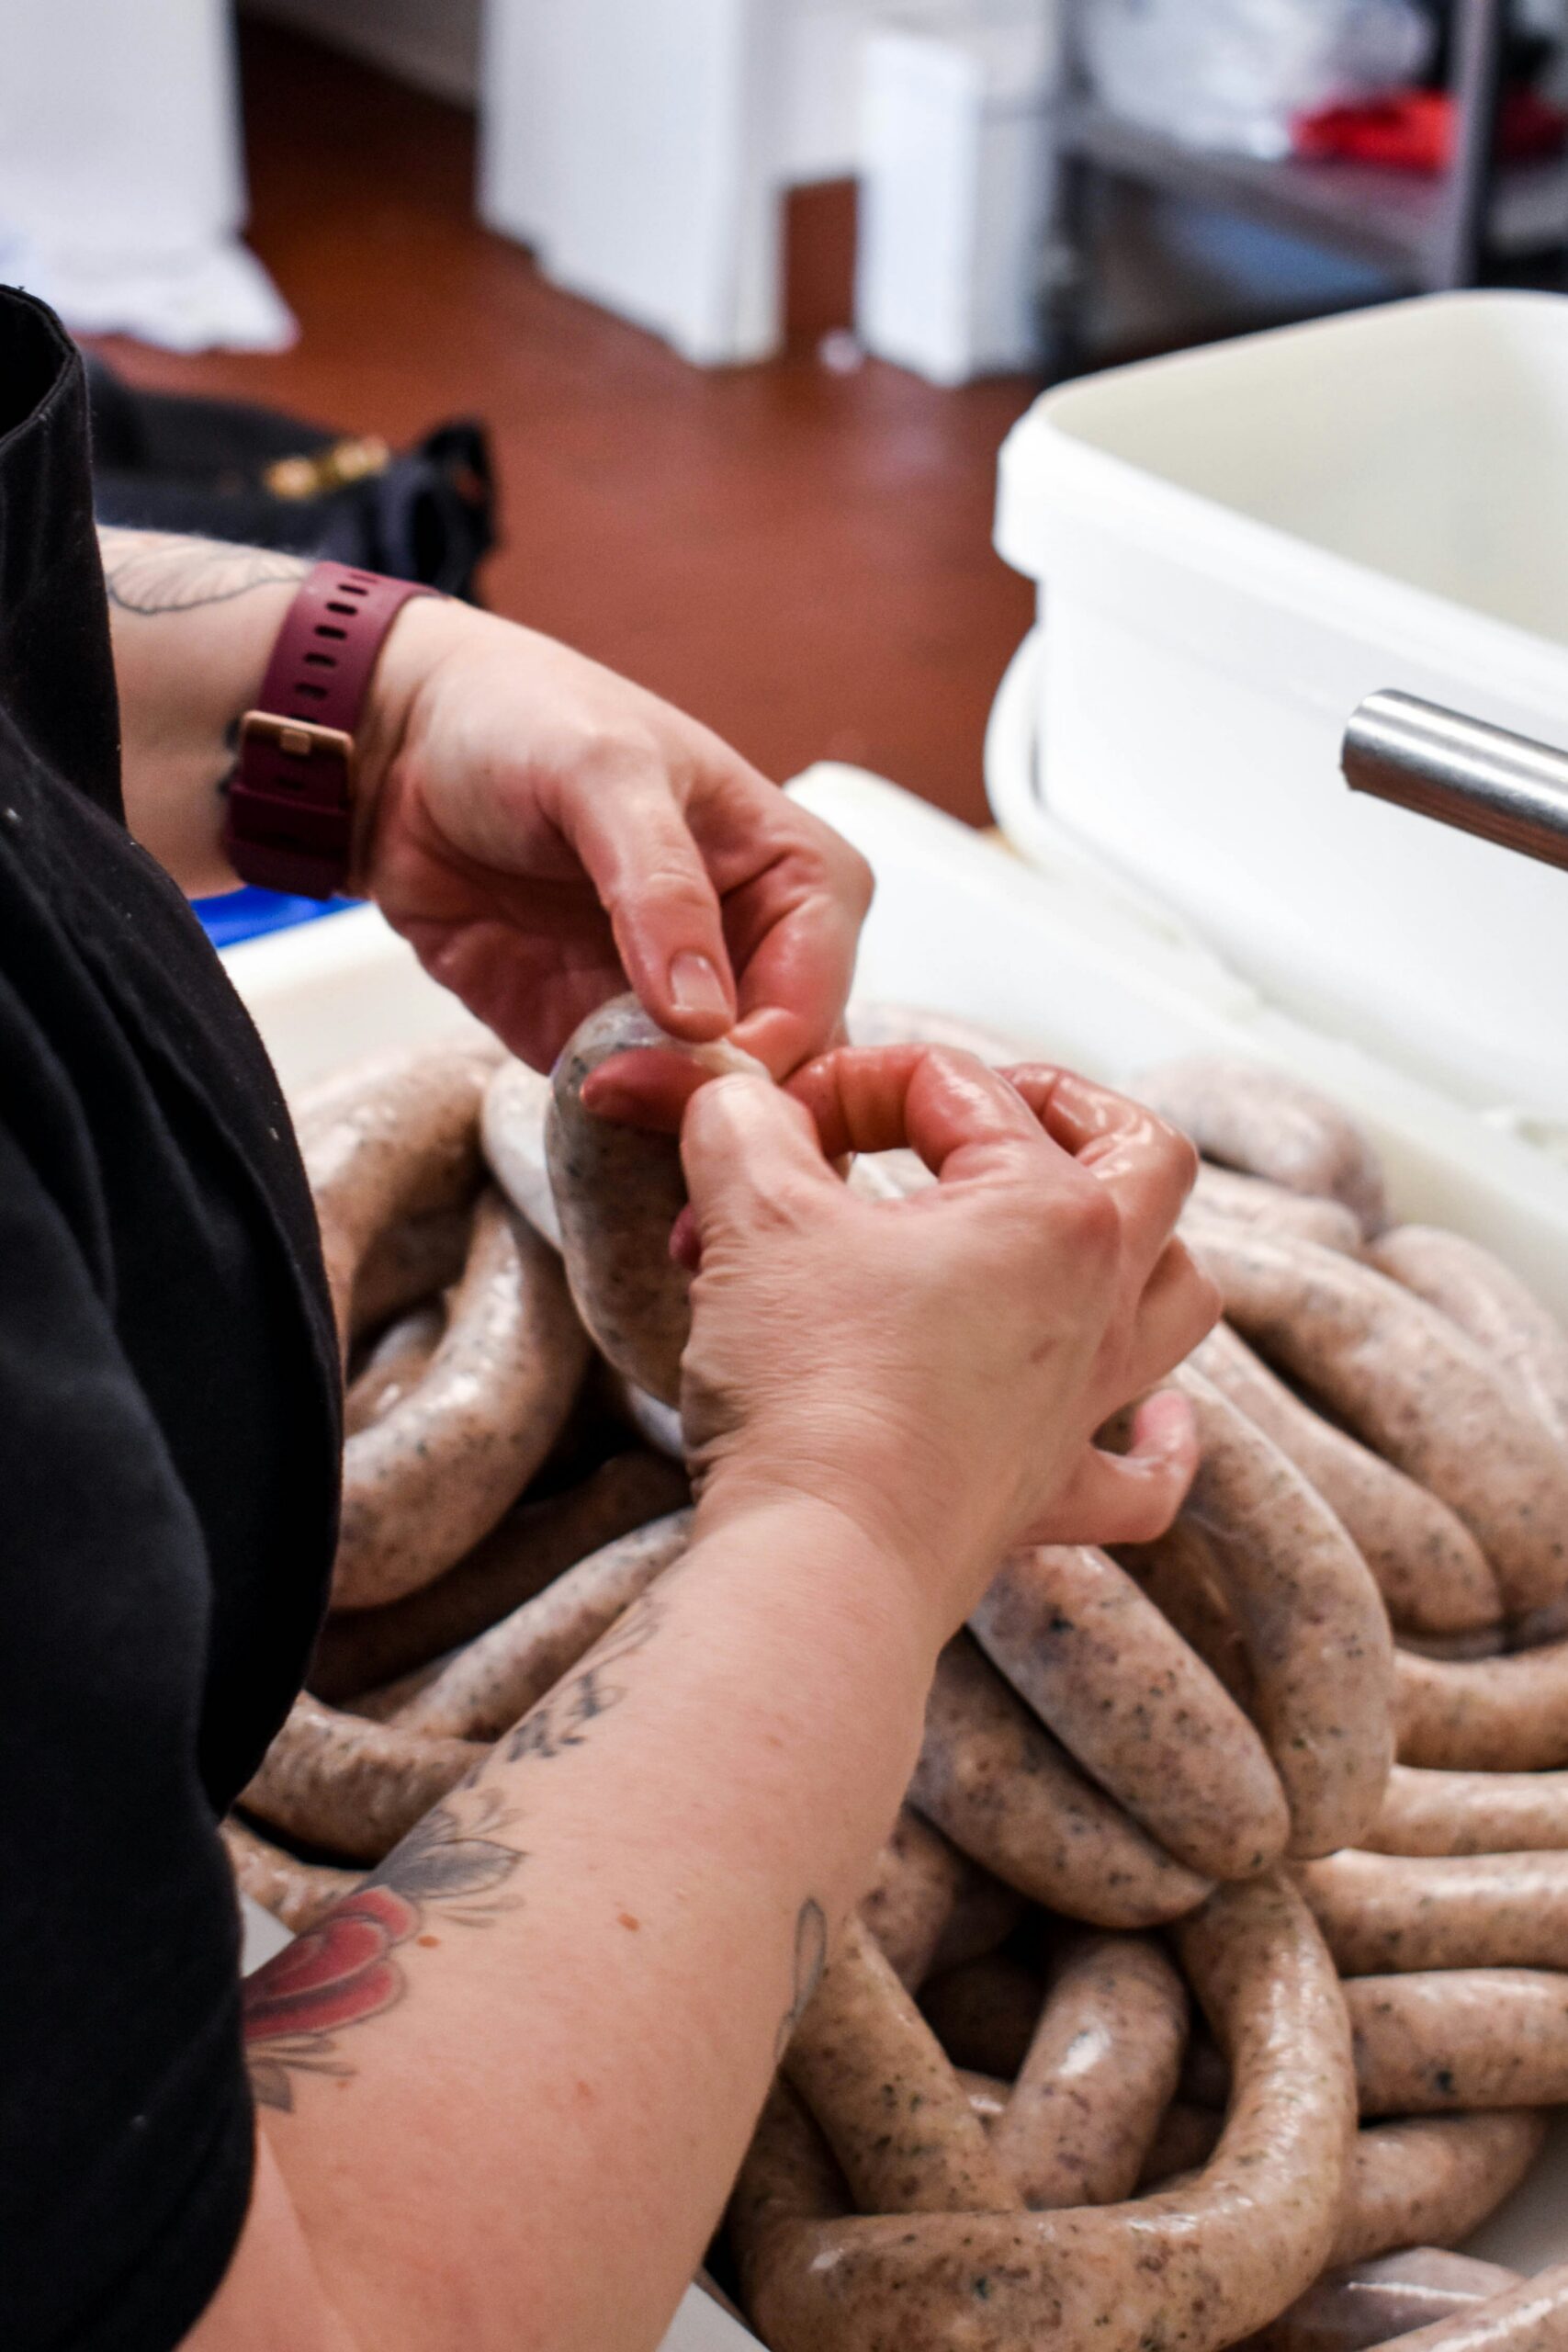
There’s a moment every home sausage maker knows. You’ve just finished a great batch of boerewors, the bench is a happy mess, and the last thing you feel like doing is pulling your grinder apart to clean it. So it sits. Maybe overnight. And that’s exactly how good gear ends up rusty, smelly, or worse, how a hidden bit of old mince makes someone sick.
Learning how to clean sausage-making equipment properly isn’t complicated, but the details matter. This guide walks you through cleaning, drying, storing and maintaining every part of your kit, from the meat grinder to the sausage stuffer, mixer and spice grinder, so your equipment stays food-safe and lasts for years.
How do you clean sausage making equipment?
To clean sausage-making equipment, disassemble it fully, wash every meat-contact part in hot soapy water, rinse in clean water, then sanitise with a food-safe solution. Always air dry completely before storing, and wipe metal parts with food-grade oil to stop rust.
A quick order to follow every time:
- Disassemble while the residue is still soft, straight after use.
- Wash all meat-contact parts in hot soapy water with a brush.
- Rinse in clean, plain water to remove the detergent.
- Sanitise with a food-safe sanitiser (not just soap).
- Air dry fully. Never towel dry with a tea towel.
- Protect metal parts with a thin wipe of food-grade oil, then store somewhere dry.
Why cleaning your gear actually matters
Sausage making runs on raw meat, and raw meat is the perfect food for bacteria. Grinders, stuffers and mixers are full of crevices, gaskets and threads where old mince loves to hide. Miss those spots and you’re not just risking a bad smell, you’re risking cross-contamination into your next batch.
There’s a second reason too. Most quality equipment is stainless steel, but stainless isn’t rust-proof, it’s rust-resistant. Leave it wet, leave meat acids sitting on it, or scratch it with the wrong scourer, and it will pit and corrode. Cleaning well is really two jobs at once: keeping your food safe, and keeping your gear alive.
There’s an important line worth remembering here, one that food-safety guidance repeats often. Cleaning and sanitising are not the same thing, and you cannot sanitise something that isn’t clean first. Soap removes the grease and food. Sanitiser deals with the bacteria left behind. You need both, in that order.
The golden rule: clean straight after use
Almost every problem home makers run into traces back to one habit, letting the gear sit. Cleaning immediately after each use stops residue hardening and stops bacteria taking hold. Once mince dries inside an auger or a stuffing tube, it turns to cement and you’ll be soaking and scrubbing for twice as long.
So the rule is simple. Finish stuffing, then clean. Don’t make a coffee first.
How to clean a meat grinder (mincer)
Your grinder does the messiest work, so it needs the most attention.
Step-by-step cleaning
Step 1: Run something through it first. Before you disassemble, push a few cubes of stale bread through the grinder. It pushes out trapped meat and fat and gives you far less to scrub.
Step 2: Take it fully apart. Unclamp the grinder body, slide out the auger (Kalahari makers will know this as “the dragon”), and remove the blade and grinding plate. Don’t clean it half-assembled. The bits you can’t see are the bits that make people sick.
Step 3: Wash in hot soapy water. Use a dish brush and, importantly, a bottle brush or an old toothbrush for the auger threads and the inside of the grinder neck. Get into every groove.
Step 4: Rinse, then sanitise. Rinse off the soap in clean water, then sanitise. A food-safe rinse matters more than people think.
Step 5: Dry immediately and completely. This is where rust starts. Hand dry, then let the parts finish air drying before they go anywhere near a cupboard.
Dealing with stubborn goop or light rust
Brand-new grinders often arrive coated in a factory grease that resists a normal wash, a common gripe in maker forums where one buyer washed a new stuffer three times and the residue still wouldn’t shift (Smoked-Meat Forums). Hot soapy water and patience usually win.
For light surface rust on older parts, a food-safe fix that home makers swear by is a soak in white vinegar followed by a gentle scrub with a fine scouring pad, then a wash and a wipe of oil (HouseRepairTalk). Skip harsh abrasives and never use steel wool on stainless, since the scratches it leaves become new homes for bacteria.
If your grinder and stuffer are one unit, like the KK SS08 Manual Meat Grinder and Sausage Stuffer, the same routine covers both jobs. Fewer parts, less to hide, quicker cleanup.
How to clean a sausage stuffer
Stuffers are simpler than grinders, and there’s a clever trick the community loves for making them simpler still.
Only the parts that touch meat or your hands actually need washing. Experienced makers suggest laying cling film over the parts of the stuffer that don’t contact the meat, like the base and gears, so you just peel it off afterwards and those parts stay clean (Smoking Meat Forums). Less to disassemble, less to dry.
For the parts that do need it, the canister, piston, and stuffing tubes:
- Wash in hot soapy water with a bottle brush for the tubes. The stuffing horn is the spot people most often half-clean, and there’s a whole r/sausagetalk thread on cleaning a stuffing horn if yours is being stubborn.
- Rinse and sanitise.
- Air dry, then a light spray of food-grade lubricant on the piston o-ring and moving parts keeps everything sliding smoothly and rust-free.
One small thing worth flagging: not every stuffer can be fully submerged. If yours has a sealed gearbox, wipe that section down and sanitise it rather than dunking the whole unit.
How to clean a meat mixer
If you use a mixer for larger batches, treat it like the grinder. Remove the paddles or agitators, wash and sanitise every surface the meat touched, and pay attention to the corners and the base of the bowl where seasoning and fat collect. Detachable parts trap food and moisture, which is exactly why food-safety guidance singles out mixers and processors as high-risk for buildup. Dry fully before it goes away.
How to clean a spice grinder
Spice grinders get forgotten because they don’t touch raw meat, but old ground spice goes stale, clumps, and taints your next blend. For a dry spice grinder, don’t drown it. Wipe the bowl and blade with a barely-damp cloth, then run a small amount of plain rice or dry bread through to absorb the oils and lift the residue. Wipe again and let it air out fully so no moisture is trapped near the motor. Give it a proper clean between strong spices so your coriander doesn’t come out tasting of chilli.
Drying and storage: where most rust really starts
You can clean perfectly and still ruin your gear at the drying stage. Two rules matter most.
First, air dry, don’t tea-towel dry. Cloths and tea towels carry bacteria, and they can re-contaminate the parts you just cleaned. Hand dry to knock the water off if you like, then let the parts finish in the open air.
Second, oil your metal before storage. A thin wipe of food-grade mineral oil on blades, plates and the auger creates a barrier against moisture. Store everything somewhere dry, and if your kit came in a case, make sure the parts are bone dry before they go back in, or you’re just sealing moisture against the steel.
Routine maintenance to make your gear last
Cleaning keeps your equipment safe. Maintenance keeps it working. A few habits from people who process a lot of meat:
- Lubricate the knife and plate before you grind. This isn’t just about rust. Skip it and the blade and plate can overheat, and seasoned makers warn the friction can actually cook the meat as it passes through, and even chip the blade or ruin the plate’s temper (Smoking Meat Forums). Use a food-grade silicone or mineral oil, not vegetable oil, which turns rancid and sticky over time.
- Keep the blade sharp. A dull grinder blade smears fat instead of cutting it, which heats the mince and hurts texture. Sharpen or replace worn cutting sets.
- Replace worn seals and o-rings. A perished gasket lets meat creep into places you can’t clean. Swap them as soon as they look tired.
- Check before you store, check before you use. A ten-second inspection catches a loose screw or a bit of rust before it becomes a ruined batch.
Kalahari Khabu equipment comes with a warranty covering the working parts, so if something wears out you can request replacement parts rather than replacing the whole unit. That’s worth knowing before you go hunting for a generic gasket.
A quick word on sanitising safely
Two things trip people up here.
Vinegar alone is a cleaner, not a reliable sanitiser. It’s a weak acid, and food-safety guidance notes it isn’t strong enough on its own to reduce bacteria to safe levels. Use it to help lift grime or light rust, then follow with a proper food-safe sanitiser.
Never mix bleach and vinegar. It’s a common “cleaning hack” that’s genuinely dangerous, because combining them releases toxic chlorine gas. If you sanitise with a diluted bleach solution, a widely-cited food-safe ratio is around one tablespoon of unscented bleach per gallon (roughly 4 litres) of water, used on its own and rinsed off. Follow the label on whatever product you use, and go for a purpose-made food-safe sanitiser if you’re unsure.
What the sausage-making community says
The best cleaning wisdom comes from people who’ve already made every mistake. Here’s what home makers say when the topic comes up on the sausage forums, in their own words.
On r/sausagetalk, one user says, “Putting a few slices of bread through your grinder at the end of your grind helps get much of the meat bits out,” which is exactly the kind of small trick that makes cleanup easier Cleaning Tips & Tricks : r/sausagetalk

For sanitizing, the same subreddit has a whole thread where makers compare approaches, dishwasher sanitize cycles, boiling grinder parts, white vinegar spray, and 10% bleach solution washes. sanitizing your equipment : r/sausagetalk

Maintenance advice is just as practical. In a Smoking Meat Forums thread, one experienced user writes, “Oil your plates and knives before you start your grinder. If you do not lubricate them you are going to have metal on metal which will create friction and friction causes heat,” which supports the point about using food-safe oil rather than cooking spray. Lube you knife and plate before grinding? | Smoking Meat Forums – The Best Smoking Meat Forum On Earth!
If you’re cleaning a stuffer, forum advice is very hands-on too. In one thread, a user asks what to use to push the last bit out, saying, “I use a wooden spoon that has a round handle close to the ID of the horn,” which is a useful cleanup workaround for stuffing tubes. Sausage stuffer clean up | Smoking Meat Forums – The Best Smoking Meat Forum On Earth!
Frequently asked questions